Can you truly harness the power of your Raspberry Pi from anywhere in the world? Remote access to your Raspberry Pi isn't just a convenience; it's a gateway to a world of possibilities, from software development and home automation to server management and creative projects, all accessible from the comfort of your own device.
The allure of the Raspberry Pi lies in its versatility, a credit card-sized computer capable of running a full operating system. However, its true potential is unlocked when you can access it remotely. Imagine being able to troubleshoot an issue, update software, or even monitor a project, all without being physically present. This article is your guide to establishing a seamless remote connection to your Raspberry Pi, regardless of your operating system.
| Feature | Details |
|---|---|
| Remote Access Method | Remote Desktop Connection |
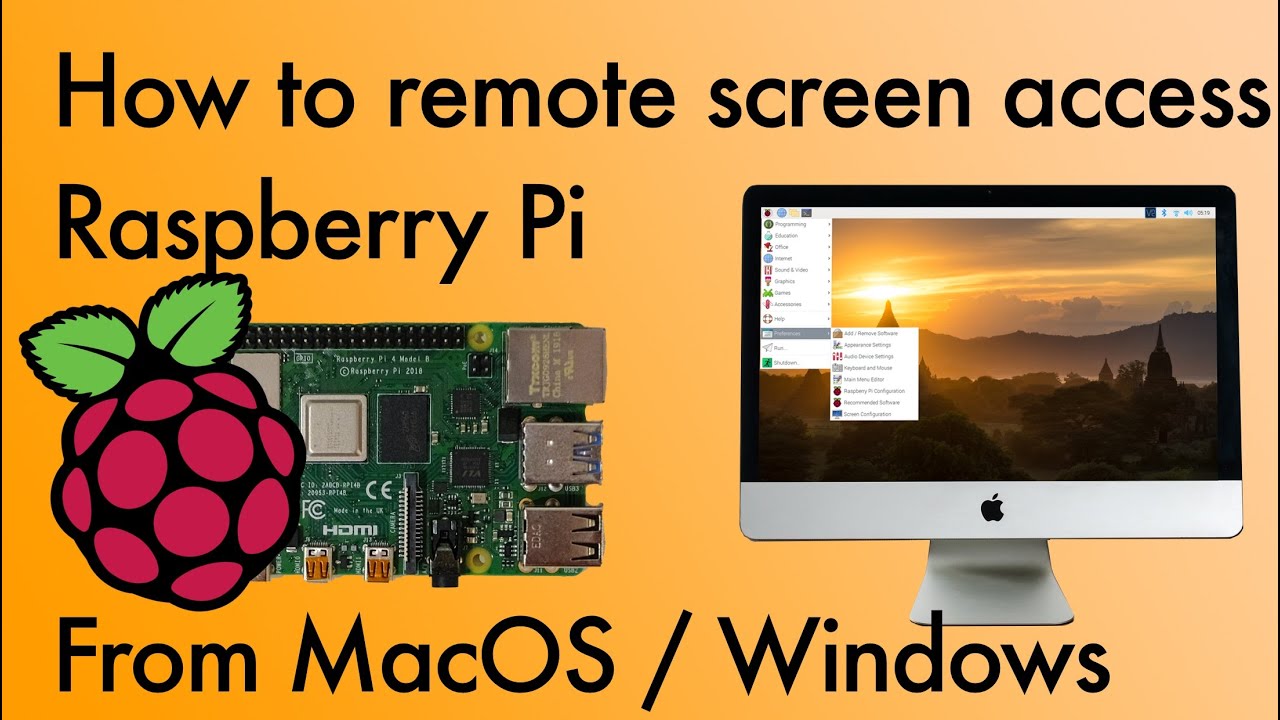
| Operating Systems Covered | Raspberry Pi OS, Windows, macOS, Linux, ChromeOS |
| Prerequisites | Raspberry Pi with Raspberry Pi OS, Computer on the same network, SSH Client (Putty/Windows Terminal) |
| Tools Used | RealVNC Connect, Remote Desktop Connection, Remote.it, TightVNC, TeamViewer |
| Primary Focus | Setting up and configuring remote desktop access to a Raspberry Pi from various devices. |
| Additional Topics | File transfer, troubleshooting common connection issues, connecting from a Chromebook, remote access from outside the local network. |
| Target Audience | Beginners and experienced users seeking to remotely access their Raspberry Pi. |
| Key Benefit | Provides a virtual presence, enabling users to manage their Raspberry Pi from anywhere. |
The core of this process involves setting up a remote desktop connection. The solution lies in Raspberry Pi remote access windows capabilities. Whether youre a seasoned programmer or a curious beginner, setting up a remote desktop connection to your Raspberry Pi is a surprisingly straightforward process. Think of it as having a virtual presence right there at your pi's terminal, no matter where you are in the world. This approach opens up a world of possibilities.
The first step is typically installing the xrdp windows remote desktop service on your Raspberry Pi or Linux device. This creates the bridge for remote access, allowing your Windows computer to interact with the Raspberry Pi's desktop environment. Once xrdp is installed, you will need to configure it to accept connections. This generally involves setting up a username and password for secure access. Then comes the Windows side. On your Windows computer, you will use the built-in Remote Desktop Connection program. You will enter your Raspberry Pi's IP address, your username and password, and you will be connected.
Initial Setup Steps:
- Install xrdp on Raspberry Pi OS.
- When prompted, enter the password for the pi user (default is raspberry).
- You may encounter a security warning regarding the authenticity of the host. Type yes to continue and add the Raspberry Pi to known hosts.
- Open a terminal window on your Raspberry Pi and run the necessary commands to install and configure xrdp.
- Open the Remote Desktop Connection program on your Windows computer and enter your Raspberry Pi's IP address.
- When prompted, enter your Raspberry Pi credentials.
- Upon successful login, you will see the desktop environment of your Raspberry Pi on your windows 11 computer.
For this to work seamlessly, you'll need to be aware of a few important prerequisites. You will require a Raspberry Pi with Raspberry Pi OS installed (formerly known as Raspbian), as well as a computer (Windows, macOS, or Linux) connected to the same local network. You'll also need an SSH client like Putty or Windows Terminal with OpenSSH to manage the initial setup or to perform command-line operations.
If you want to see all these steps in action, there are video lessons available. These visual guides often provide a more intuitive understanding of the process, helping you navigate potential pitfalls.
Troubleshooting Tips:
- If you are having issues connecting with the Raspberry Pi ensure that you are utilizing the correct IP address. Use the command `ifconfig` on the Raspberry Pi to check its IP.
- Ensure your Raspberry Pi is connected to your Wi-Fi or a network using an Ethernet cable.
- Double-check your credentials; capitalization and spacing matter.
- If you still cannot connect, consider these troubleshooting steps: Verify your network connection, ensure that the remote desktop service is running, and check firewall settings on both the Raspberry Pi and your Windows computer.
Exploring Alternatives:
While the standard Remote Desktop Connection is the primary focus, the landscape of remote access offers several alternatives. Tools such as TeamViewer or TightVNC provide versatile options, especially if you're looking for cross-platform compatibility or specific features.
Remote.it: Expanding Beyond the Local Network
For remote access from outside your local network, services like Remote.it come into play. You can set up an account, configure a Remote.it service compatible with xrdp, and connect to your Pi from anywhere with an internet connection. This greatly expands the utility of your Raspberry Pi, giving you control regardless of your location. To connect to your Raspberry Pi remotely, you'll need to set up an account, open a web browser on your other computer and navigate to app.remote.it and enter your Remote.it login credentials.
Chromebook Connectivity: A Different Approach
Accessing your Raspberry Pi from a Chromebook involves slightly different steps. With the proper setup, you can establish a secure connection, mirroring your Raspberry Pi's desktop on your Chromebook. This flexibility makes your Raspberry Pi even more accessible.
File Transfer: Moving Data Between Devices
Beyond merely accessing the desktop, you'll often need to transfer files. This can be accomplished using the secure copy (scp) command. To copy a file named myfile.txt from your personal computer to a user's home folder on your Raspberry Pi, you can run a command from the directory containing myfile.txt, replacing the placeholder with the username you use to log in to your Raspberry Pi and the placeholder with your Raspberry Pi's IP address.
Command-Line Access: The Power User's Realm
Once connected, you can type, copy, and paste commands, granting you complete control over the command line. Whether youre a developer or a home automation enthusiast, the command line is an invaluable tool, allowing you to manage files, install software, and configure your Pi. If you want to boot to the GUI (startx), you may need a slightly different method.
Understanding the Underpinnings
What happens under the hood is fascinating. Paul Mucur, who runs web development at Raspberry Pi, can explain how the underlying technology works. The process involves client-server communication, secure protocols, and a sophisticated handling of network packets to ensure a seamless experience. The details can be complex, but the ultimate outcome is simple: remote access.
Raspberry Pi Connect and the Future:
Raspberry Pi connect gives you access to Raspberry Pi 4/5 from anywhere (including your local network). Your Raspberry Pi needs to be running Raspberry Pi OS Bookworm. Only devices using the Wayland compositor have remote screen sharing (this means Pi5, Pi4, or Pi400), but all can access the system in this way.
Beyond Remote Desktop: Other Applications
Remote access extends far beyond just the standard desktop environment. It enables you to:
- Run a Minecraft Server: Create a server that works with PCs, consoles, and tablets running Minecraft 1.14.
- Master Python on Raspberry Pi: Create, understand, and improve any python script for your Raspberry Pi.
- Home Automation: Control and monitor smart home devices.
- Server Management: Manage web servers and other network services.
- Software Development: Develop and test software remotely.
A Step-by-Step guide for Connection:
- Network Connection: Ensure your Raspberry Pi is connected to your Wi-Fi or Ethernet network.
- IP Address: Determine the IP address of your Raspberry Pi. You can find this by executing the command `ifconfig` in the terminal.
- Remote Desktop Connection: On your Windows computer, open the "Remote Desktop Connection" program.
- Enter IP Address: In the "Computer" field, write your Raspberry Pi's IP address and press "Connect."
- Credentials: Insert your username (usually "pi") and your password, then press "OK."
- Connection Established: You should now see your Raspberry Pi's desktop environment.
With the right knowledge and tools, you can unlock the full potential of your Raspberry Pi, transforming it from a standalone device into a versatile remote companion. The possibilities are endless, from managing your home network to working on software projects from anywhere in the world.